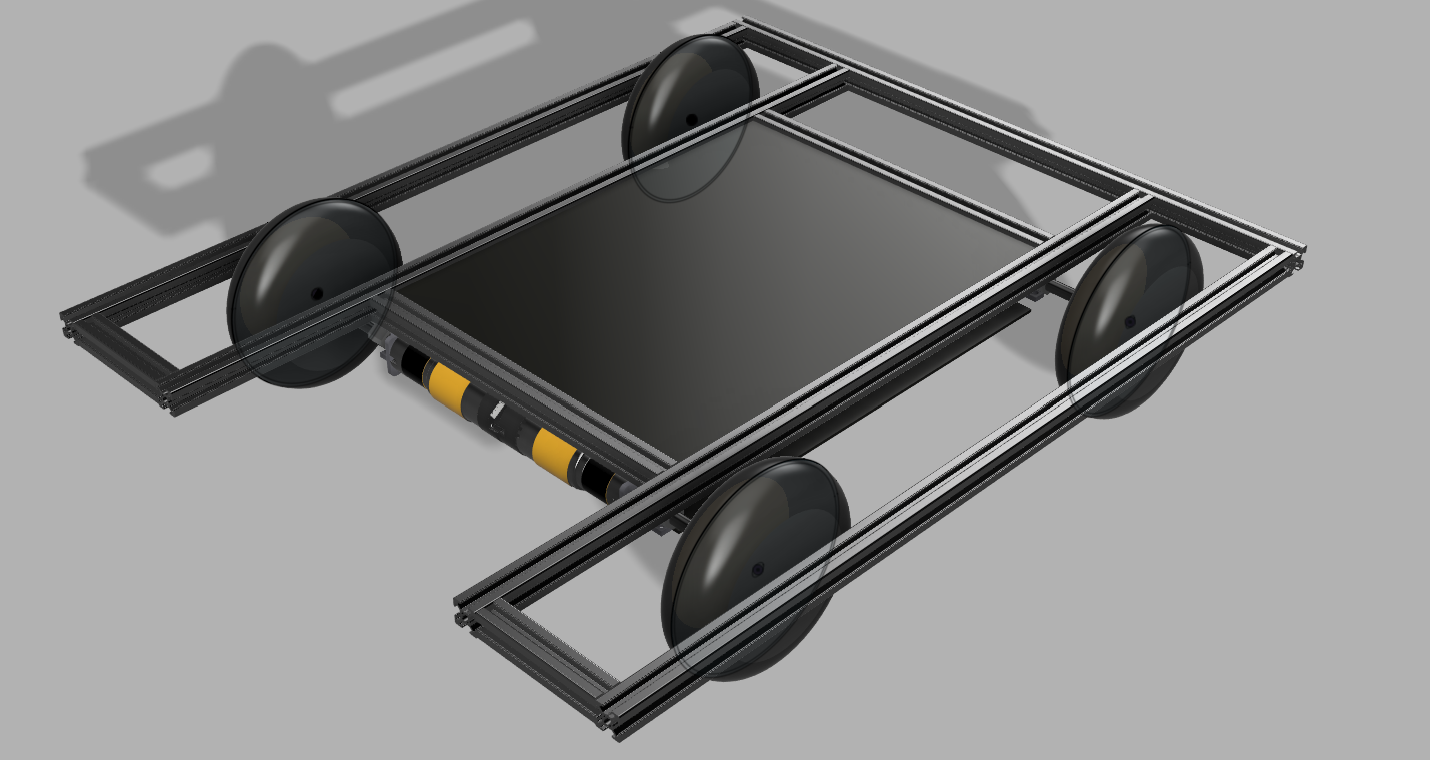
Our robot was designed with a modular approach, allowing for quick and efficient adjustments throughout the competition. Its 2020-profile chassis ensures both lightness and robustness, while its omnidirectional wheels provide optimal maneuverability on the field.

The chassis is the foundation of a well-designed robot. We opted for omnidirectional wheels, enabling smooth navigation on flat terrain. The chassis electronics are protected between two 3mm acrylic plates slid into the profiles. The robot’s base is U-shaped, allowing us to leave an empty space to securely place our claw. The U-shape also allows us to install sensors to facilitate alignment when picking up game pieces. Additionally, the wheels are protected by the 2020 profiles. We have reserved space at the back of the chassis to position the battery and CRCStop in an easily accessible manner. The chassis electronics are protected between two 3mm acrylic plates slid into the profiles.
We chose 2020 profiles to create a lightweight and mobile chassis. The profiles are held together by bolts screwed into the holes of the profiles.
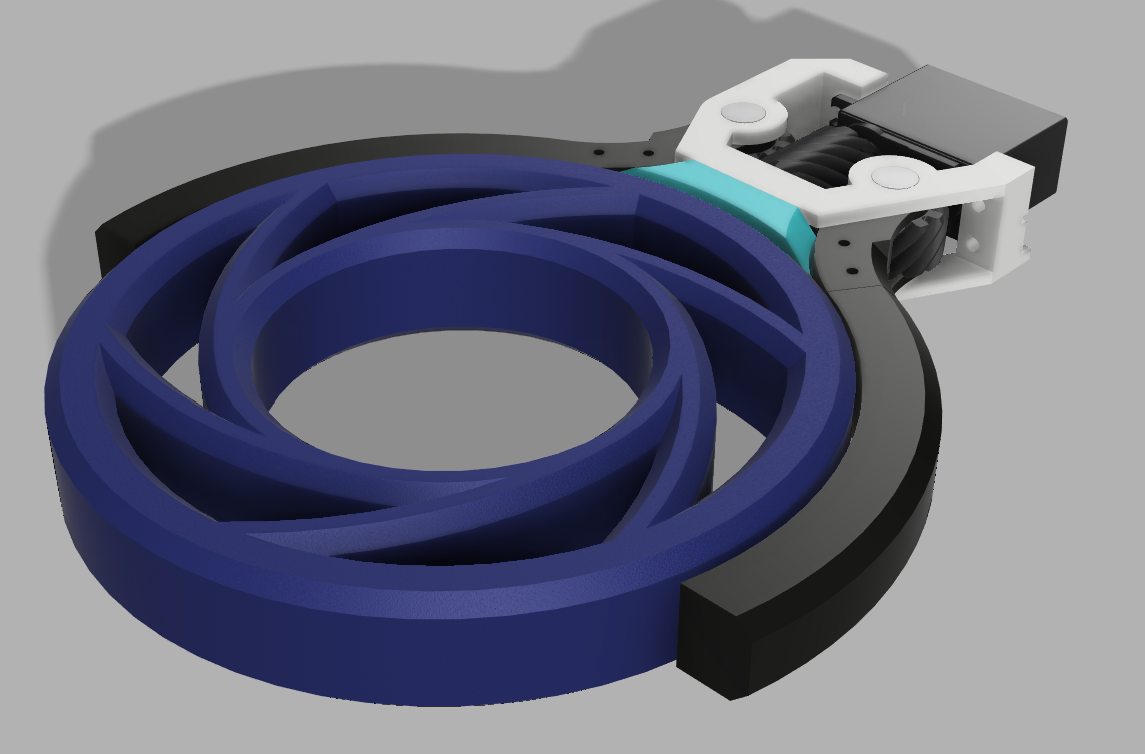
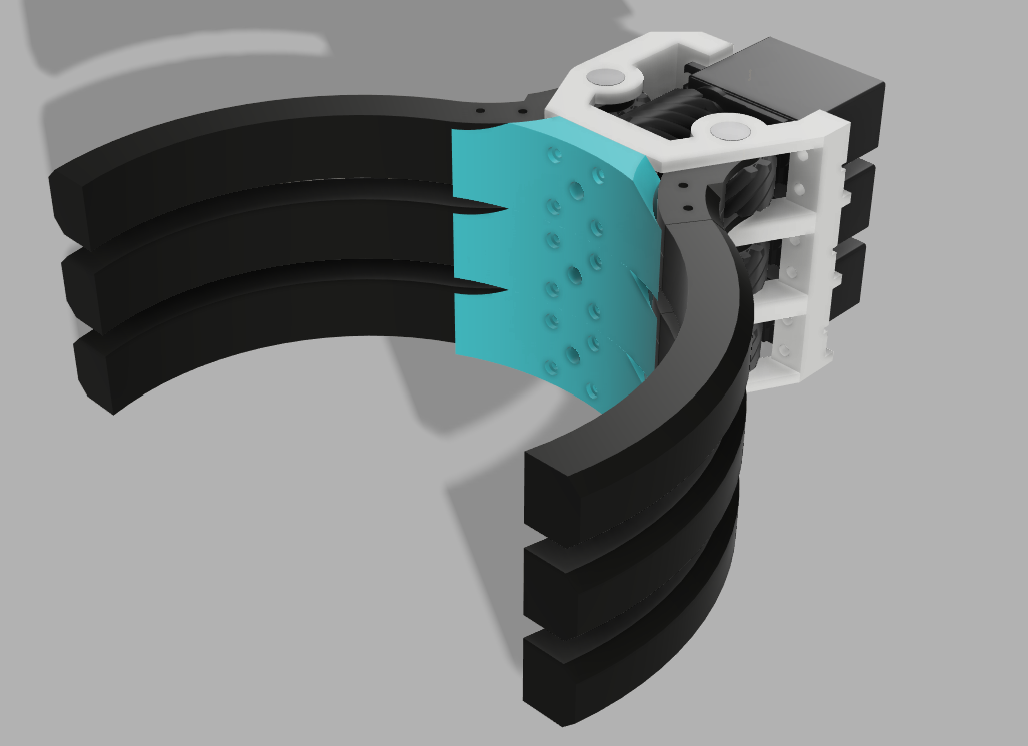
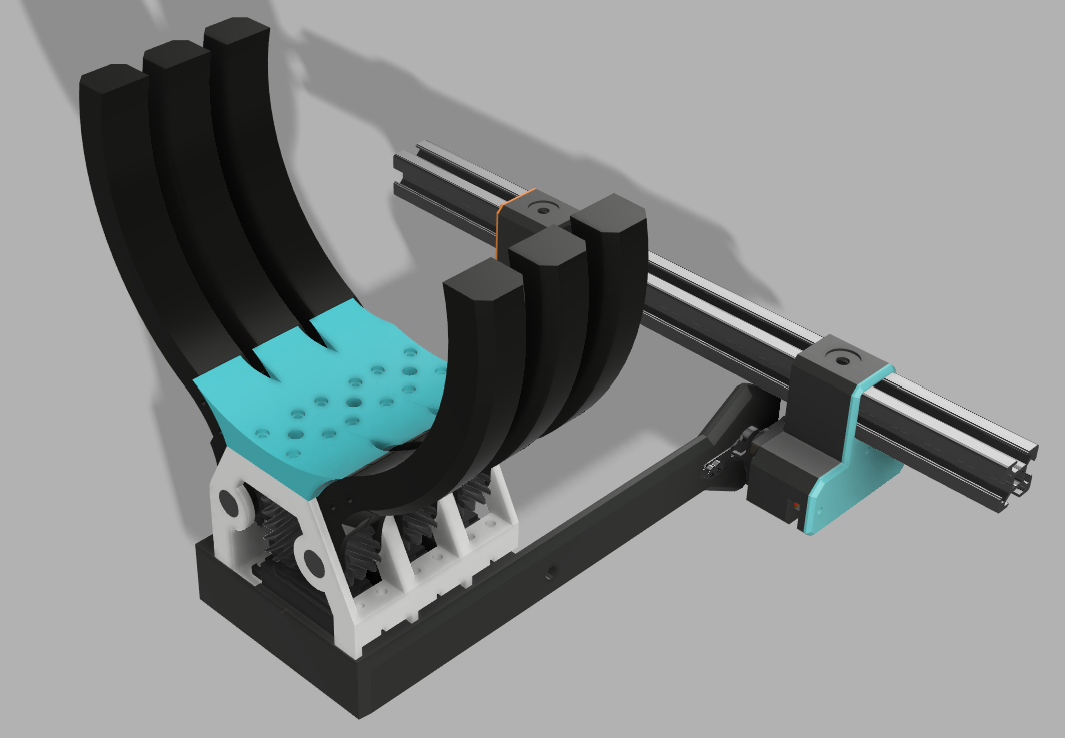
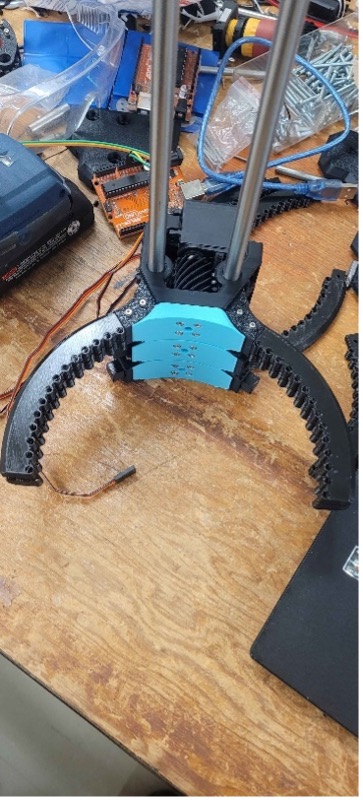
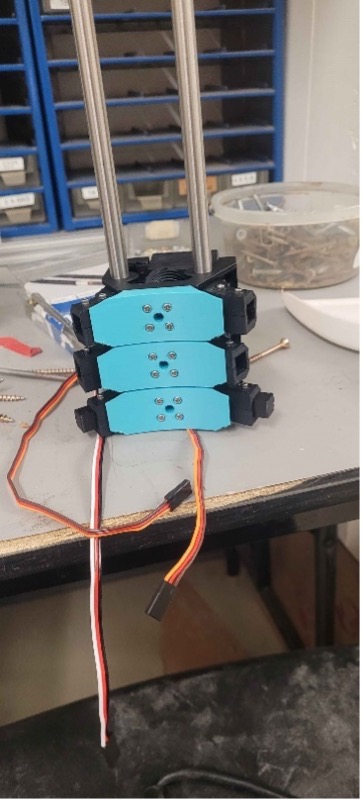
For the most crucial part of the robot, we chose a three-claw system to maximize the versatility of our robot during the game and to facilitate incorporating a system for launching game pieces into the curling field. To transfer the rotation movement from the servo motors to the circular fingers that facilitate gripping, we used a system of helical gears. This compact system ensures the durability of the claw throughout the competition while achieving a claw with thickness equal to that of the game pieces for stacking them on top of each other.
After testing different prototypes to reduce play as much as possible, we chose a common support for the three servos to strengthen the joint and ensure proper force transmission, minimizing wear on the components. To efficiently modify the sensitive points of our claw, the fingers were designed to be easily removed and replaced. Finally, we used 10mm steel shafts to support the claw’s structure and ensure maximum precision.

To allow our claw system to interact with game pieces regardless of their orientation, we connected them to an arm powered by servos to rotate at different angles. This system is then assembled onto the side rail of the elevator connected to the chassis, allowing the claw to move across all axes and orientations. In an effort to reduce component wear, we designed a rotation mechanism using only two main parts, directly connected to the metal arms for the servo motors. Additionally, we embedded metal bars along the length of the two 3D-printed bars to take advantage of the strength and lightness of aluminum while maintaining the complex geometry offered by 3D modeling. Finally, we opted for a dual-motor system for better precision and to prevent wear on a single servo motor.
The arm was reinforced with an aluminum plate inserted during 3D printing. We reserved free space in our 3D model so it could fit in. We also added M3 inserts to facilitate the connection of the servos to the wrist.
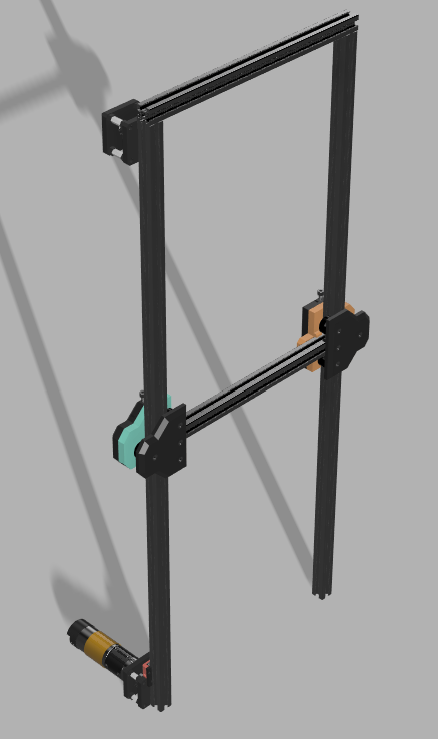
To lift our claw system, we chose a pulley and belt mechanism inspired by the movement mechanisms of 3D printers. The elevator consists of a pulley and belt mechanism. The belt is attached to a 3D-printed guide that also adjusts the belt tension through a screw. The addition of three POM wheels on each guide ensures smooth movement. The system is powered by a GoBilda motor. The motor is encoded to know the vertical position of the claw, and a button at the bottom allows it to be calibrated at the beginning of each round, just like 3D printers.
Our electronic system differs from previous robots through the implementation of a second microcontroller to manage encoder inputs, which are then sent to the CRCDuino to control the motors. To facilitate cable management, we employed a cable chain connected to the elevator, ensuring the cables from the claw servos are secured.
Our electronics are assembled on a perforated aluminum plate attached to the chassis. We chose to place the electronics at the bottom of the robot to make them easily accessible for faster repairs, simply by flipping the robot. Only two screws need to be removed to access the electronics.
3D printing plays a central role in the production of our robot. It has allowed us to facilitate and accelerate our prototyping in an affordable manner. Additionally, with the many 3D modeling talents in our team, 3D printing opens doors to numerous product possibilities, allowing many of our ideas to come to life and adding an artistic touch to our creations.
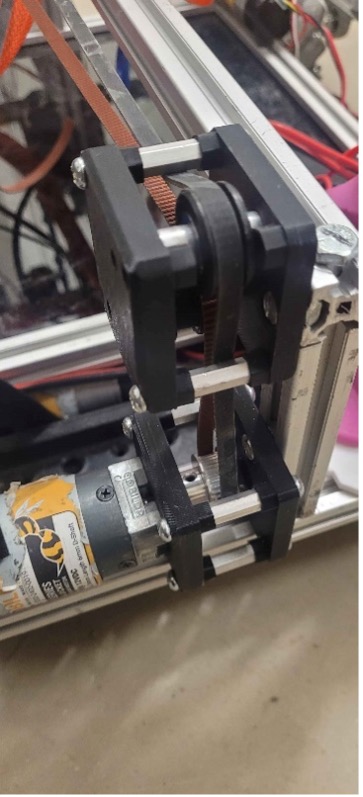
To ensure the elevator works reliably, we must ensure the belt is always tensioned. To solve this problem, we implemented a tensioning mechanism where a screw pushes on a portion of the belt fixed to the guide, shortening it and increasing the tension.
To reduce the play in the claw, we refined the tolerances and the geometry of the gears. After researching gear composition, we succeeded in improving how the gears mesh. The helical gears exert an axial force when rotated, a problem we solved by adding shafts to prevent bending.
To fully leverage the functionality of the mecanum wheels, it was necessary to ensure the extrusions and joints were made with extreme precision to evenly distribute the chassis weight across the four wheels. After assembly, the robot’s movements were not constant and lacked precision. To fix this, we had to disassemble everything to file the end of each extrusion. Additionally, we pre-drilled each joint to prevent unwanted twisting during assembly. Despite this, some movements were still not up to our expectations. Ultimately, we had to replace some parts that had worn over time. We should now have a fully functional chassis at its best performance!